
Getting Started with zipBoard: For AEC Professionals
Managing and reviewing construction documents like blueprints, specifications, and RFIs can be overwhelming without the right tools. With zipBoard, you can collaborate on PDF documents more efficiently, ensuring your team stays aligned, issues are resolved quickly, and projects progress smoothly.
This guide walks you through the essential steps to get started with zipBoard for managing construction documents.
Step 1: Upload Construction Documents (PDFs)
- Log in to your zipBoard account and navigate to your project dashboard.
- Click "Add Files" and select PDF documents from your computer.
- Project Managers can organize documents into boards or categories (e.g., Blueprints, Specifications, RFIs) to track progress more effectively. They can also define statuses at the project level (e.g., In Review, Approved, Final) or across the organization for consistent workflows.
📌 Pro Tip: Use descriptive file names (e.g., BuildingA-Blueprint-v3.pdf) to keep track of document versions.
Step 2: Annotate and Review
- Open a PDF from your project dashboard.
- Use zipBoard’s annotation tools to:
- Mark issues directly on the blueprint.
- Add comments to highlight questions, approvals, or corrections.
- Assign tasks to team members for follow-up.
📌 Example: Highlight an outdated window spec on a blueprint and comment, "Please confirm updated dimensions."
- You can reply to comments, accept or reject them, and mark annotations as Complete or Cancelled directly from the document. Additionally, manage your own comments by editing or deleting them as needed to keep feedback organized.
Step 3: Version Control
- Upload new versions of documents to maintain a clean workflow.
📌 Pro Tip: Always upload the most recent version to ensure the team works on accurate data.
Step 4: Collaborate with Your Team
- Share the document link with stakeholders via share link!
- Allow external collaborators (e.g., contractors) to review and comment without requiring a zipBoard account.
- Set access permissions to control who can view or edit specific files.
Do Reviewers Have to Verify Email When Signing Up/Login?
If the clients and users are required to login, they have to verify their account by following these 4 simple steps.
Step 1 — Sign Up or Accept an Invitation
When you create a new zipBoard account or click an invitation link from a teammate, you'll be prompted to enter your email address and set a password. Once you submit the form, zipBoard automatically sends a verification email to the address you provided.
Step 2 — Check Your Inbox
Open the inbox for the email address you used during sign-up. Look for an email from zipBoard with the subject line similar to "Verify your email address" or "Confirm your zipBoard account". The email typically arrives within 1–2 minutes.
💡 Tip: If you don't see it in your primary inbox, check your Spam, Junk, or Promotions folder. Corporate email systems and filters sometimes route automated emails there.
Step 3 — Click the Verification Link
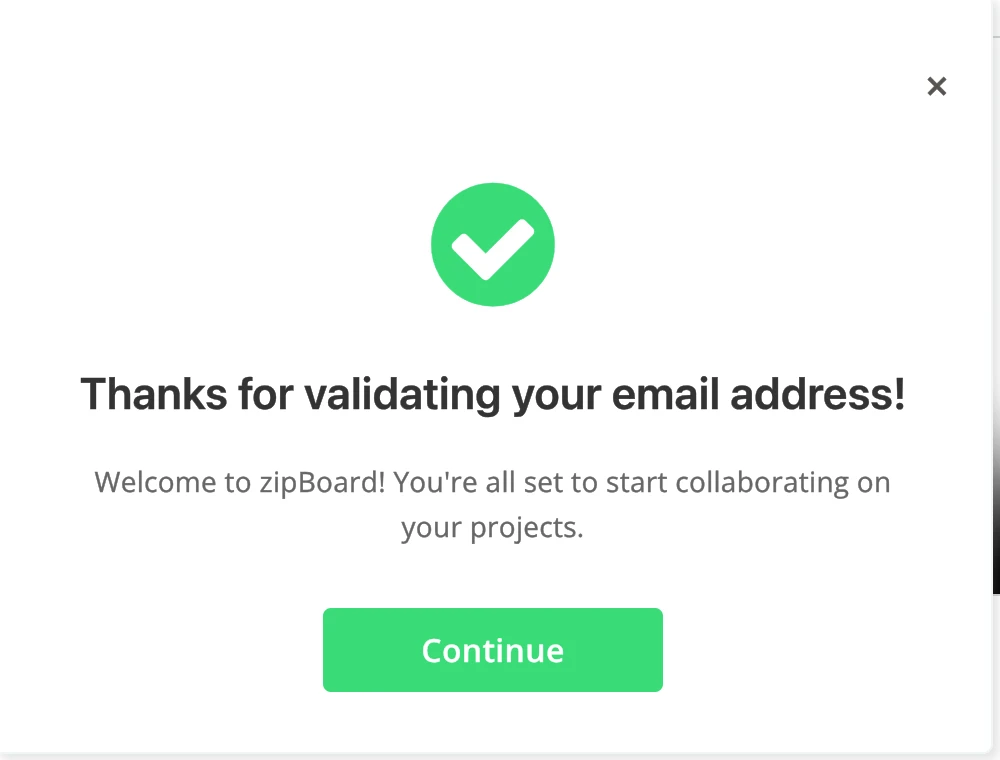
Open the email and click the "Verify Email" button or link. This will open a browser tab confirming that your email has been successfully validated.
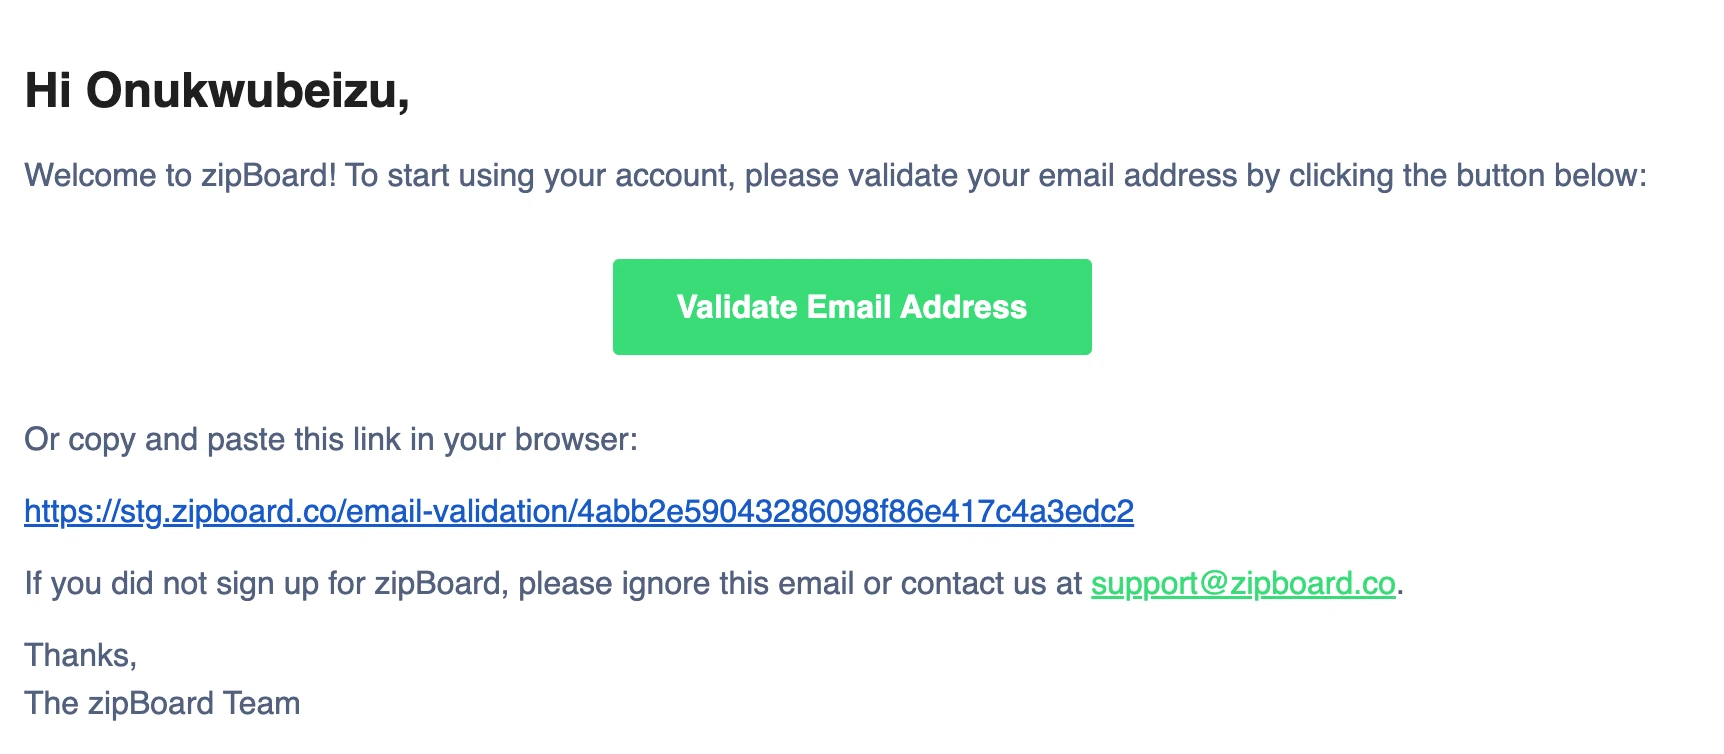
Note: To prevent our mail servers from being overwhelmed, there is a 30-second cooldown on this button. If it is greyed out, simply wait for the countdown to hit zero to try again.
Step 4 — Start Using zipBoard
That's it! Once verified, you have full access to your zipBoard account. You can now create projects, annotate files, collaborate with your team, and receive all notifications.red route to be as simple and frictionless as possible. Here is a breakdown of the key elements you’ll see:
Step 5: How to Track and Prioritize Feedback from Guests in zipBoard
Once feedback starts coming in from collaborators and stakeholders, project managers need to triage and organize it effectively.
- Triage Feedback: Sort incoming comments based on their relevance, urgency, and impact on the project.
- Prioritize Actionable Feedback: Focus on addressing feedback that aligns with the project goals and objectives.
Learn more about tracking and prioritizing feedback here.
Step 6: Generate Reports
- Use zipBoard’s reporting tools to compile feedback and unresolved tasks into a shareable report.
- Share reports during construction meetings to prioritize action items.
Step 7: Customize Workflows
- Set up project-specific workflows (e.g., Review → Approval → Finalization) for construction document review.
- Use task statuses to track document progress at every stage.
Benefits of Using zipBoard for Construction Documents
- Centralized Collaboration: Keep all documents and feedback in one place.
- Error Reduction: Annotate directly on blueprints to avoid miscommunications.
- Faster Approvals: Streamlined workflows mean quicker decision-making.
- Improved Accountability: Assign tasks and track their completion.
For additional help, check out our Help Center or reach out to support.