
Getting Started with zipBoard: For Web Designers
Getting Started with zipBoard: For Web Designers
Web design projects often involve multiple stakeholders, feedback cycles, and the need to track changes efficiently. zipBoard simplifies this by providing tools to review and collaborate on live websites or design files in one centralized platform.
This guide will walk you through how to use zipBoard effectively for your web design projects.
Step 1: Set Up Your Project
- Log in to your zipBoard account and create a new project.
- Name your project after your website or client (e.g., ClientABC Website Redesign).
- Define project-level statuses (e.g., In Progress, Ready for Review, Approved) to reflect your workflow.
Step 2: Add Your Website for Review
- Navigate to the project dashboard and click "Add URL" to add your website or web page.
- Paste the live URL or staging link you want to review. zipBoard allows real-time feedback on live websites.
- Organize links into categories (e.g., Desktop Version, Mobile View, Landing Pages) for streamlined reviews.
📌 Pro Tip: If your website isn’t live, you can upload image mockups or design files instead.
Step 3: Annotate and Provide Feedback
- Open the added web page or mockup in zipBoard.
- Use annotation tools to:
- Pinpoint specific elements (e.g., incorrect fonts, alignment issues) and suggest changes.
- Add comments or create tasks for functionality issues (e.g., broken links, slow-loading sections).
- Reply to feedback, accept/reject suggestions, and mark annotations as Complete or Cancelled directly from the web page.
📌 Example: Highlight a misaligned button on the homepage and comment, "Please center-align the button and adjust padding."
Step 4: Test Website Responsiveness
- Use zipBoard to review your website on different screen sizes and devices.
- Add annotations directly to mobile or tablet views to highlight issues specific to those formats.
📌 Pro Tip: Label tasks with tags like Mobile, Desktop, or Tablet to keep them organized.
Step 5: Track and Prioritize Feedback
Feedback from clients and stakeholders can quickly accumulate. Here’s how to stay on top of it:
- Triage Feedback: Organize feedback by urgency, relevance, and its impact on the design goals.
- Prioritize Actionable Tasks: Address issues that improve user experience or meet client requirements.
Learn more about tracking and prioritizing feedback here.
Step 6: Share the Website with Stakeholders
- Share the live website or staging link for review by clicking "Share Link" from the project dashboard.
- Customize permissions:
- Commenter: Allow clients to leave feedback on specific sections of the site.
- Viewer Only: For stakeholders who only need to see the design without adding input.
📌 Pro Tip: Use guest access for clients who don’t have zipBoard accounts, ensuring easy collaboration.
Do Reviewers Have to Verify Email When Signing Up/Login?
If the clients and users are required to login, they have to verify their account by following these 4 simple steps.
Step 1 — Sign Up or Accept an Invitation
When you create a new zipBoard account or click an invitation link from a teammate, you'll be prompted to enter your email address and set a password. Once you submit the form, zipBoard automatically sends a verification email to the address you provided.
Step 2 — Check Your Inbox
Open the inbox for the email address you used during sign-up. Look for an email from zipBoard with the subject line similar to "Verify your email address" or "Confirm your zipBoard account". The email typically arrives within 1–2 minutes.
💡 Tip: If you don't see it in your primary inbox, check your Spam, Junk, or Promotions folder. Corporate email systems and filters sometimes route automated emails there.
Step 3 — Click the Verification Link
Open the email and click the "Verify Email" button or link. This will open a browser tab confirming that your email has been successfully validated.
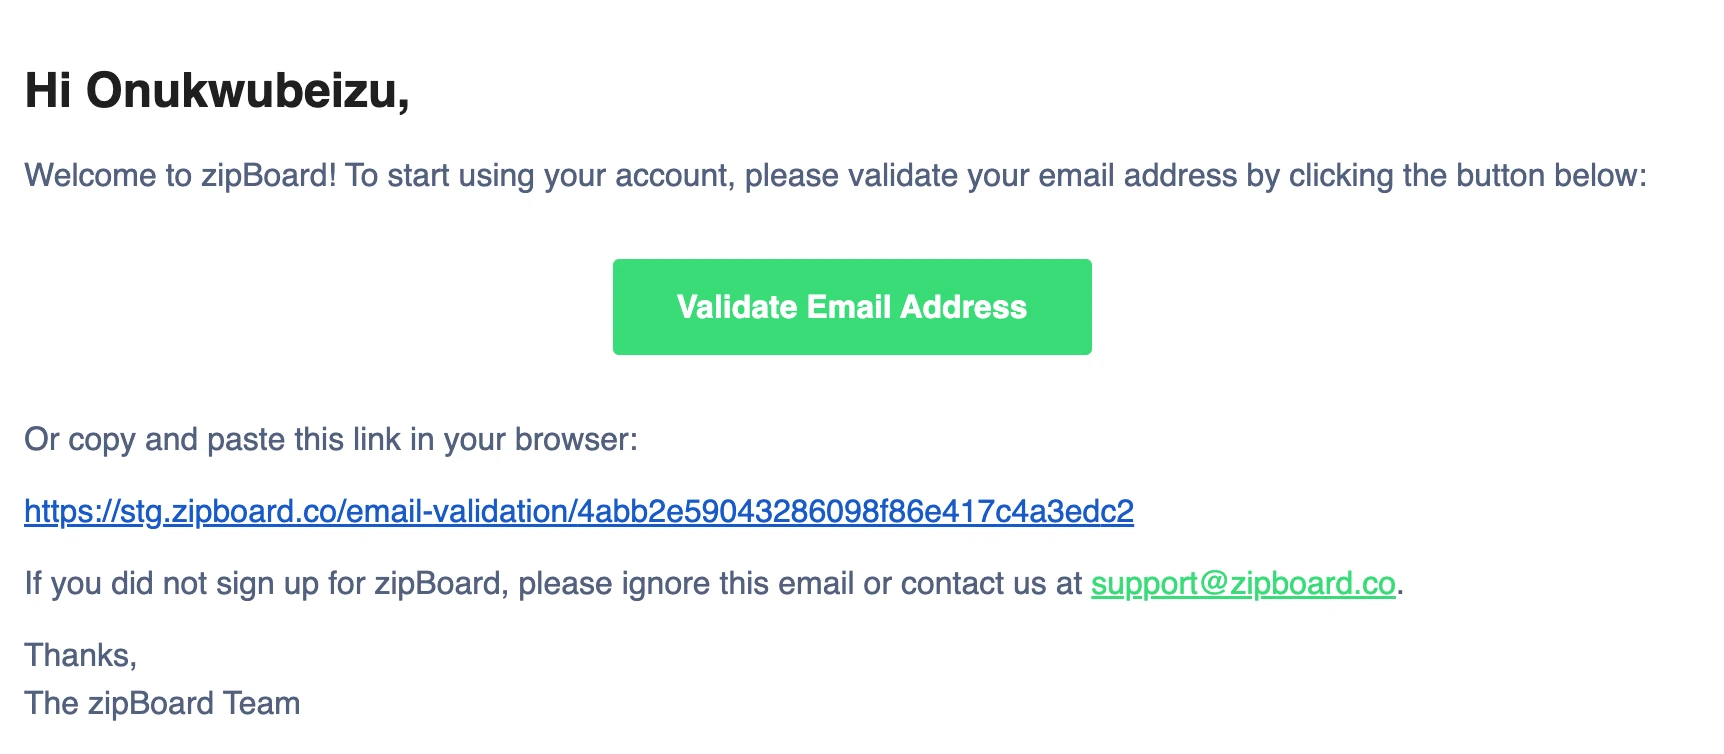
Note: To prevent our mail servers from being overwhelmed, there is a 30-second cooldown on this button. If it is greyed out, simply wait for the countdown to hit zero to try again.
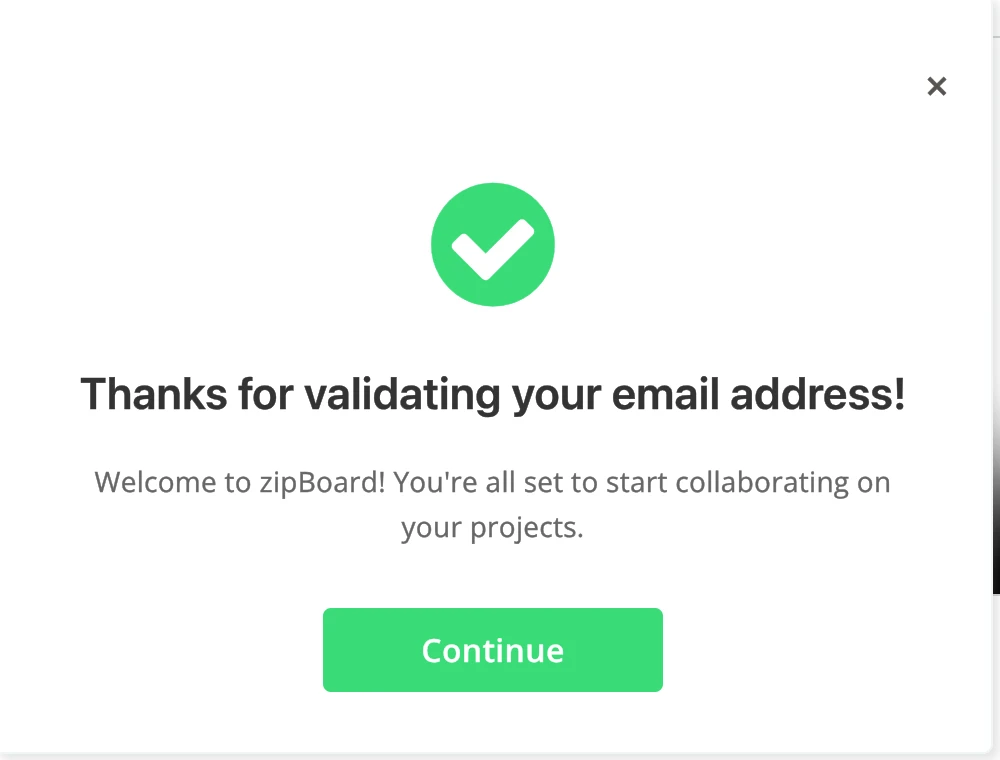
Step 4 — Start Using zipBoard
That's it! Once verified, you have full access to your zipBoard account. You can now create projects, annotate files, collaborate with your team, and receive all notifications.red route to be as simple and frictionless as possible. Here is a breakdown of the key elements you’ll see:
Step 7: Manage Versions and Updates
- Upload updated versions of mockups or update the live website link as changes are made.
Benefits of Using zipBoard for Web Design
- Real-Time Collaboration: Annotate live websites or mockups directly for immediate feedback.
- Centralized Feedback: Keep all comments, tasks, and updates in one place.
- Device-Specific Reviews: Ensure designs look great on all screen sizes.
- Version Tracking: Maintain a history of design iterations for reference.