
So I've been given a zipBoard share link, now what?
So, someone using zipBoard has created a project and uploaded a file that they need your help with reviewing. They've sent you a share link but you're not sure what that means or what to do with it.
Share Links
Share links are a quick and easy way for zipBoard users to get feedback from their users. While all share links will give you access to view the file, they have different tiers of accessibility.
- Required Signup/Login
- View the Document along with other reviewer's comments
- View the document and add your own comments.
These three settings can be combined to create 6 unique different kinds of reviewer accessibility:
- View All Boards/Reviews Only Access
- Add New Boards/Reviews Only Access
- View All and Add New Boards/Comments Access
- Required Signup/Login and View All Boards/Comments Access
- Required Signup/Login and Add New Boards/Comments Access
- Required Signup/Login, View All and Add New Boards/Comments Access
The accessibility level should be provided to you by the zipBoard user who sent you the share link - when in doubt revert back to them. Click here for further information on these permissions
Using Share Links to Review Uploads
To launch your review, click on the share link. Depending on the upload type shared with you, you may be asked to download a browser plugin.

In the event that a plugin is required, clicking on the green "Install Chrome Extension" button in the middle of your screen will launch the extension store where you can download our plugin for free.

Once downloaded, go back to the tab that you pasted the URL in and click refresh, or relaunch the URL from the email you received. Now you should be able to see the upload, along with zipBoard's review tools in the frame. If this is your first time using zipBoard there will be a quick walkthrough explaining the tool.

Once you have finished with the onboarding messaging you're ready to start using zipBoard for your review.

The comments you make while reviewing the upload will be translated as tasks to the members of the project, all you have to do is write down what you think needs to be revised.
If you want more information on the different types of tools that zipBoard has to offer, click here.
Do I Have to Verify My Email?
If you are required to login or sign up, you have to verify your email. Follow these 4 simple steps to verify them!
Step 1 — Sign Up or Accept an Invitation
When you create a new zipBoard account or click an invitation link from a teammate, you'll be prompted to enter your email address and set a password. Once you submit the form, zipBoard automatically sends a verification email to the address you provided.
Step 2 — Check Your Inbox
Open the inbox for the email address you used during sign-up. Look for an email from zipBoard with the subject line similar to "Verify your email address" or "Confirm your zipBoard account". The email typically arrives within 1–2 minutes.
💡 Tip: If you don't see it in your primary inbox, check your Spam, Junk, or Promotions folder. Corporate email systems and filters sometimes route automated emails there.
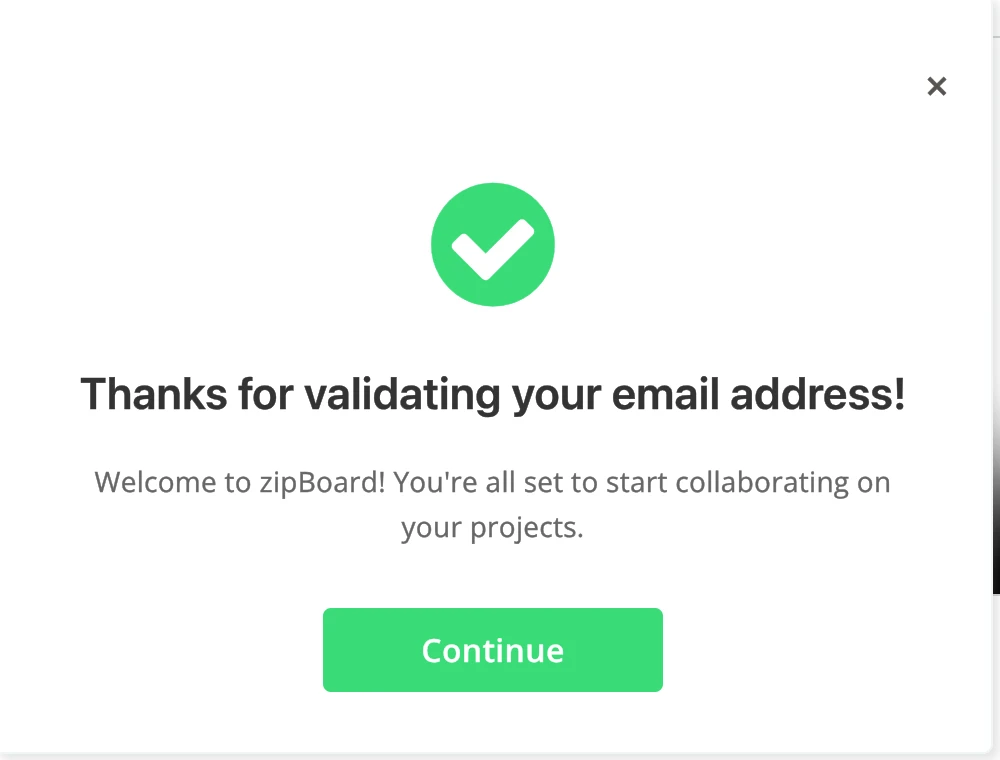
Step 3 — Click the Verification Link
Open the email and click the "Verify Email" button or link. This will open a browser tab confirming that your email has been successfully validated.
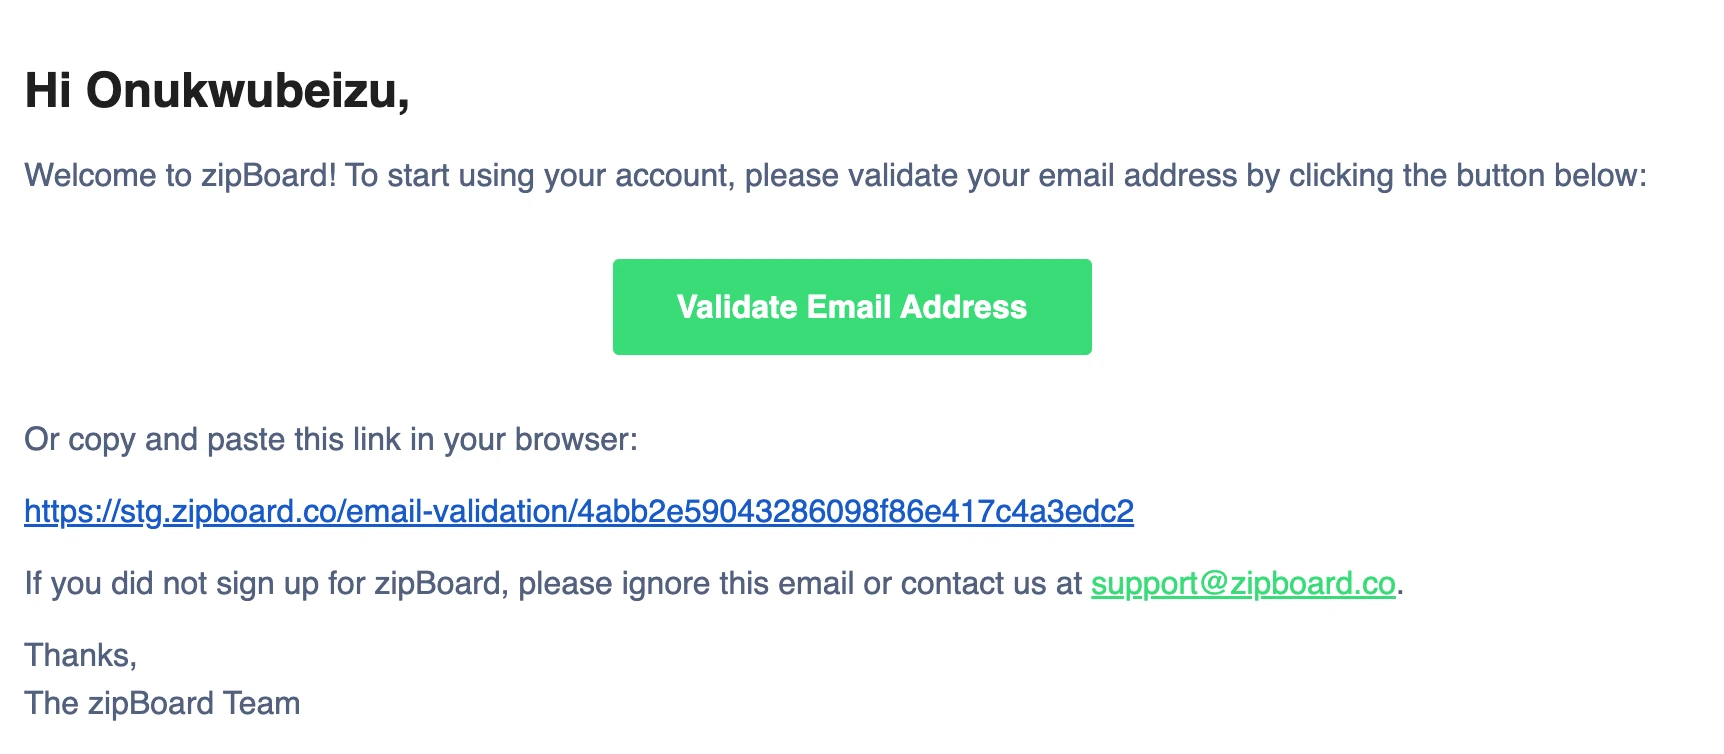
Note: To prevent our mail servers from being overwhelmed, there is a 30-second cooldown on this button. If it is greyed out, simply wait for the countdown to hit zero to try again.
Step 4 — Start Using zipBoard
That's it! Once verified, you have full access to your zipBoard account. You can now create projects, annotate files, collaborate with your team, and receive all notifications.red route to be as simple and frictionless as possible. Here is a breakdown of the key elements you’ll see:
Note: If you receive a strange zipBoard link from an unknown account or a potential phising link, kindly report it to support@zipboard.co