
How do I Share Files with a Client?
Collaborating with clients has never been easier. With zipBoard, you can securely share files, gather feedback, and streamline communication—all in just a few clicks. Here's how you can invite clients and share files seamlessly to keep your projects moving forward.
Step 1: Add the Client to Your Project
Before sharing files, you need to add the client to your zipBoard project:
- Open your project and navigate to the "Collaborators" tab.
- Click "Add Client."
- Enter the client’s email address and click "Invite."
- Once the client accepts the invitation, they will be added to the project as a Client.

Step 2: Share a File with the Client
Once the client is added, follow these steps to share a file:
- Locate the file you want to share.
- Click the three horizontal dots (⋮) on the file card.
- Select "Share."
-
Choose the client(s) you want to share the file with.

- Set their access permissions:
- All Comments – Clients can see all feedback.
- Only External Comments – Clients only see external discussions.
- Remove Access – Revokes client access.
- Click "Share" to finalize the process.

📌 Clients will receive an email with a direct link to access the file in zipBoard.
Do Reviewers Have to Verify Email When Signing Up/Login?
If the clients and users are required to login, they have to verify their account by following these 4 simple steps.
Step 1 — Sign Up or Accept an Invitation
When you create a new zipBoard account or click an invitation link from a teammate, you'll be prompted to enter your email address and set a password. Once you submit the form, zipBoard automatically sends a verification email to the address you provided.
Step 2 — Check Your Inbox
Open the inbox for the email address you used during sign-up. Look for an email from zipBoard with the subject line similar to "Verify your email address" or "Confirm your zipBoard account". The email typically arrives within 1–2 minutes.
💡 Tip: If you don't see it in your primary inbox, check your Spam, Junk, or Promotions folder. Corporate email systems and filters sometimes route automated emails there.
Step 3 — Click the Verification Link
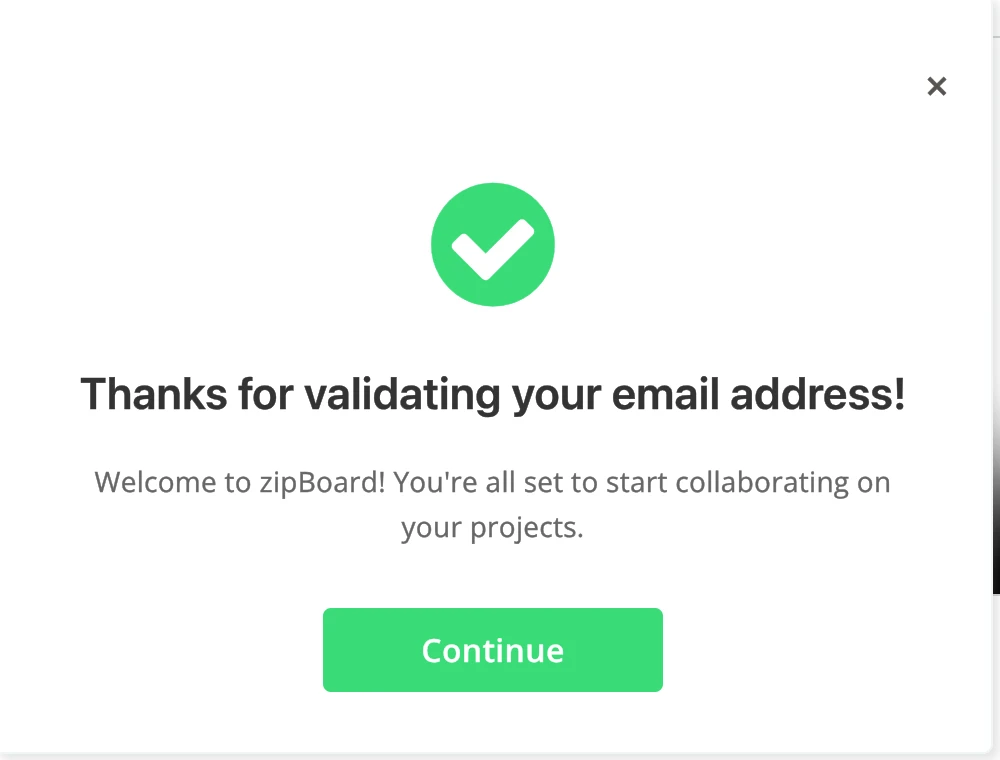
Open the email and click the "Verify Email" button or link. This will open a browser tab confirming that your email has been successfully validated.
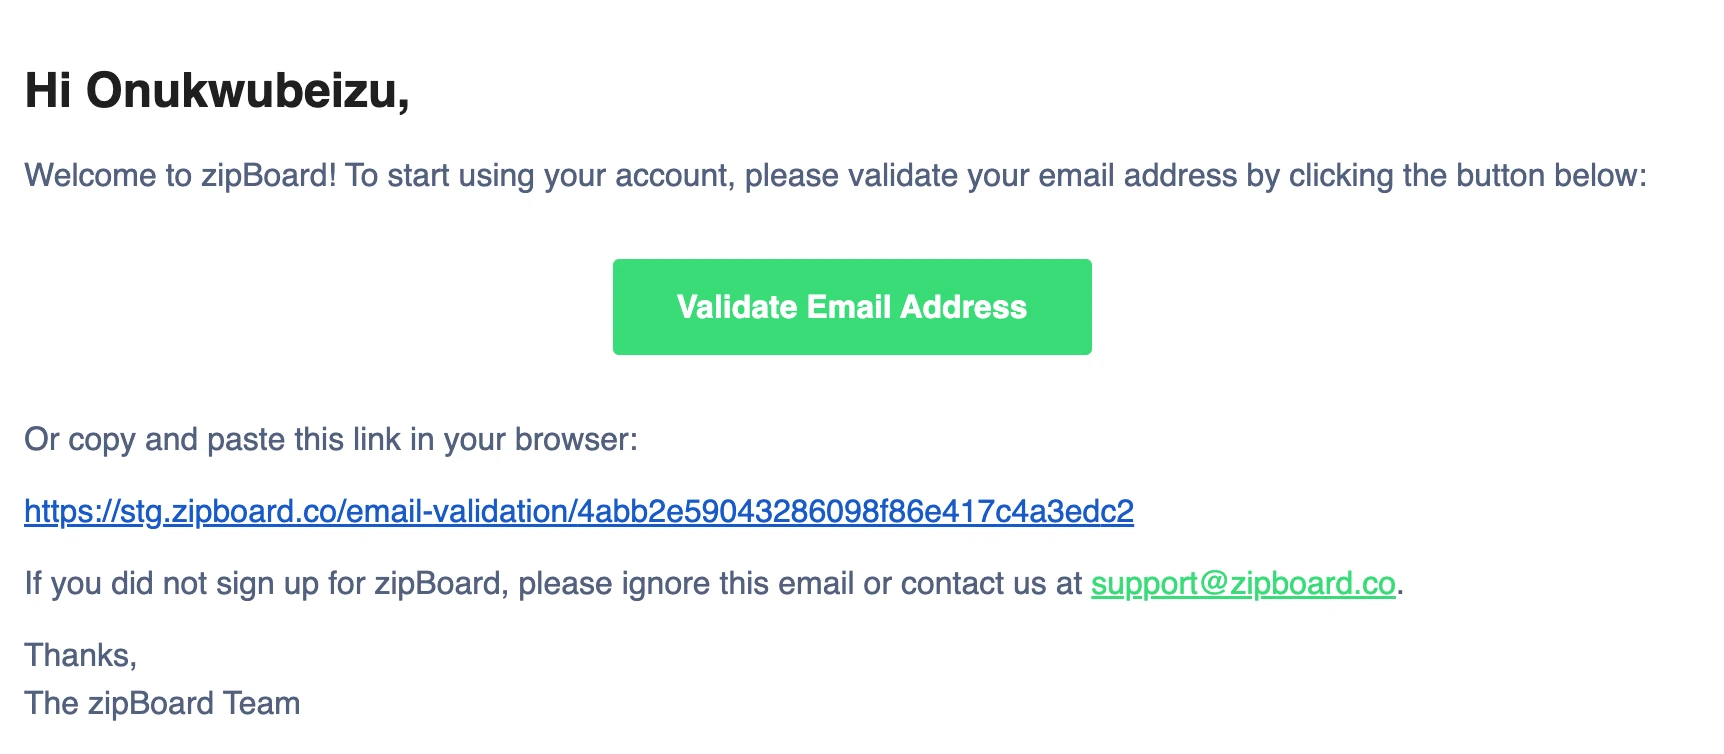
Note: To prevent our mail servers from being overwhelmed, there is a 30-second cooldown on this button. If it is greyed out, simply wait for the countdown to hit zero to try again.
Step 4 — Start Using zipBoard
That's it! Once verified, you have full access to your zipBoard account. You can now create projects, annotate files, collaborate with your team, and receive all notifications.red route to be as simple and frictionless as possible. Here is a breakdown of the key elements you’ll see:
Step 3: Client Access & Feedback
Once the client clicks the link in their email:
- They can log in to zipBoard using their credentials.
- They can review the file and provide feedback using the built-in annotation tools.
Troubleshooting & FAQs
❓ What if the client doesn’t receive the email?
✔️ Ask them to check their spam/junk folder or resend the invitation.
❓ Can I remove or change client access later?
✔️ Yes! Go to the Access Tab in the Share modal and update permissions.
Next Steps
🚀 Want to learn more? Check out these related articles:
- Different Share Link Options
- How Version Control Works in zipBoard?
- How to Track and Prioritise the Feedback from Guest in zipBoard?
🔹 Try zipBoard Today! Ready to enhance your client collaboration? Request a Demo to explore how zipBoard can streamline your workflows.